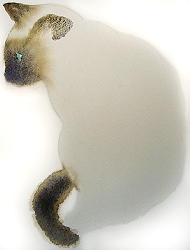
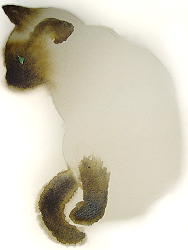
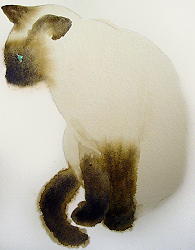
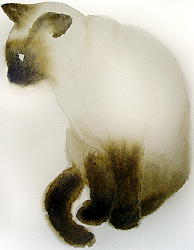
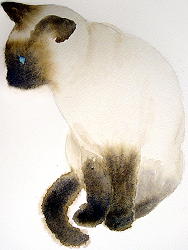
The mascots for our studio are two cats. The more vocal and demanding is Quigley Down Under, AKA Quigley. It is only fitting that we should do a tutorial about Siamese cats. I hope you have fun trying this one. (To see larger pictures of the cat click on the thumbnails.)
Drawing
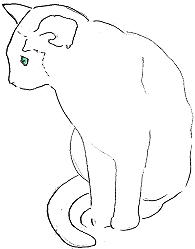
Always start with a drawing. This should be a simple line drawing. This is also a good time to apply masking to the areas you want to keep white for the moment. Masking is called by several names: maskoid, fisket, masking fluid, etc. Use whichever one you have. In this case I masked the eye because I want to paint it a Siamese blue. You can see the mask I used is a soft bluish-green color, not to be confused with the final color of the eye.
Wet The Paper
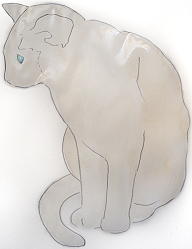
Wet the paper and drop in paint. Take a brush full of the color you want and just touch the tip to the wet paper. The wet paper will pull the paint off the brush, softly adding color to the body. Use a mixture of burnt sienna and yellw ochre. Dry using either a hair dryer or patience.
Face and Tail
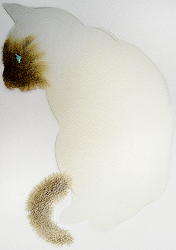
Rewet the face. Make sure you only wet the area you want the paint to flow into. Leave the background dry. While the face is still wet drop in a mix of burnt sienna, burnt umber and some blue to darken. Let the paint flow toward the center of the face. The paint flowing into the wet section will give it a soft fur-like appearance. The tail is done slightly differently. Dampen the tail and the surrounding area. fill your brush with the darker brown-blue mixture from the face and drop it into the middle of the tail. You want the paint to spread in a soft furry look.
Left Ear
Wet the upright ear starting on the drawn line and wetting toward the center of the face. Drop in the dark brown/blue mixture and let it run toward the face. Since watercolors dry slightly lighter, you may find that you want to darken the nose and or tail. While the face is still damp, drop in a darker brown/blue mixture into the nose. If you need to darken the tail, repeat the original process.
Other Ear
Dampen the outer shape of the inner ear leaving the inner section wet. Drop the paint on the outer line and let the paint flow toward the center of the ear. It is here that I reshaped the muzzle of my cat. I used a damp brush to wet the spot I wanted to remove and then blotted with a dry paper towel.
Front Foot
Wet the foot into the body of the cat. Do not get it too wet, or the paint will go higher than you want. Start at the bottom of foot and drop paint up into the leg. Remember the paint will continue to spread, so don’t go too far up.
Other Foot
After the original foot has completely dried, wet the second foot and bring the water up in front of the top of the first foot and into the body. To the wet area add a lighter burnt sienna/yellow ochre mixture. If you need to tone down any yellow add purple. You are shaping the front of the body. While everything is still wet, drop in the dark brown starting in the foot and extending into the leg. As the face is completely dry, rub the masking off the eye with your fingers.
Back Feet
Wet the back feet and the lower part of the body. Drop in the lighter color and let it spread up into the body to shape the back. Drop the darker brown/blue mix in, starting in the foot. Wet the spot behind the face on the upper neck and shape by adding the lighter yellowish/brown color.
Finish
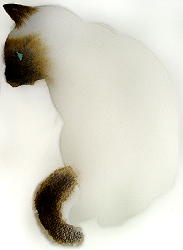
Softly add color to any area that you need to shape. Take care not to disturb the spots that are fuzzed from the wet-on-wet technique. Paint the eye light prussian blue. Add a darker blue color to the top of the eye for the shadow. When dry, scratch in the highlight, using any sharp tool. I hope you have enjoyed this tutorial. Mat your cat and enjoy!

